Today we started over and downloaded wordpress to put it on our individual servers.
Setting up:
We started by logging in to fetch and accessing cpanel by going to kaylapanigutti.com/cpanel and putting the login info from fetch in it. Then go to WordPress.org -> download -> unzip file on desktop.
We dragged all of the files from the wordpress download file in to fetch except for the file called wp-config-sample.php. Rename that file to wp-config.php and open it in dreamweaver.
On CPanel scroll down to Databases-> mysql database wizard and make a database and username. Put that info in to the wp-config.php file in their appropriate places. Drag it in to fetch once saved. If you change wp-config.php on your computer you then have to upload it to fetch again. Now when you go back to your site (kaylapanigutti.com) it should show this:
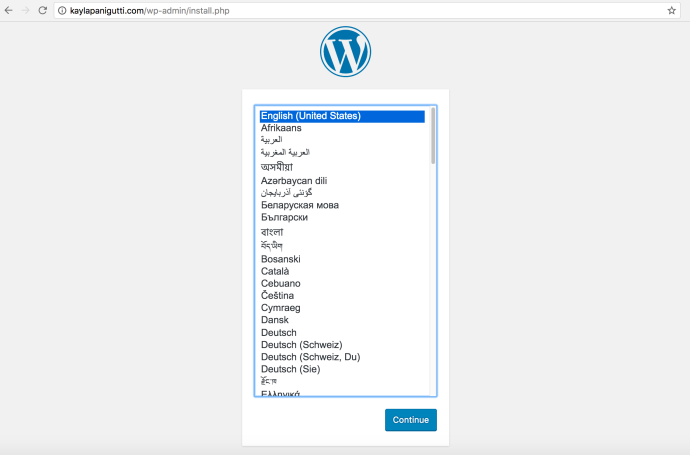
Start setting up your WordPress account and click download wordpress. It will take you to your dashboard once you’re done.
To get our themes in to this new wordpress, drag your old theme folder from htdocs to the wp-content folder in fetch. If we change anything we will have to reload it to fetch!! While we wait for this to load we are setting up security.
To set up security in wordpress, we install a plugin called Jetpack. After it’s downloaded, activate it, go to the jetpack page under dashboard and go through the steps (making sure to select the free one). Make sure you are logged into your blog as well because that will let you log in.
While you’re installing plugins, install Advanced Custom Fields. Go to custom fields on the left side of the page and set up your fields like before. We had a port_thumb and a port_medium.
Once this is all done, add pages and categories, and make sure to assign templates.
